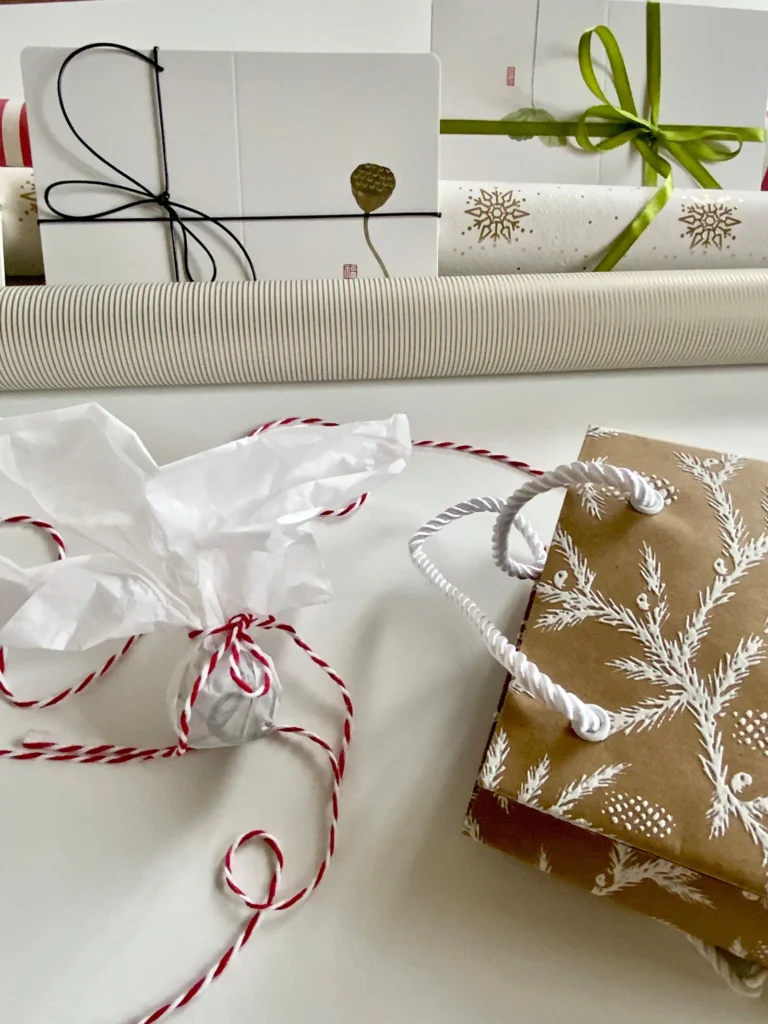
Making a bag out of wrapping paper is a simple craft you can try at home with a few basic supplies. It is useful when you need a gift bag but do not have one ready. You can use leftover wrapping paper, choose a design that matches your gift, and make the bag in the size you need.
The process involves folding, cutting, and securing the paper to create a neat shape. You can also add handles and decorations to give your homemade bag a finished look.
Materials You Need to Make a Wrapping Paper Bag
Before you start, gather these supplies:
- Wrapping paper
- Scissors
- Tape or glue
- Ruler
- Pencil
- Hole punch (optional)
- Ribbon or string for handles (optional)
- Thin cardboard for extra support (optional)
How to Make a Bag Out of Wrapping Paper
Follow these steps to turn a flat sheet of wrapping paper into a simple gift bag.
Step 1: Cut the Wrapping Paper to Size
Place your gift on the wrapping paper to estimate how much paper you need. Make sure the paper is wide enough to wrap around the gift with some overlap. Leave extra paper at the bottom for the base and at the top for the finished edge.
Follow these guidelines when cutting the paper:
- Measure the height and width of your gift first.
- Leave about 1 inch of extra paper along one side for the overlapping seam.
- Leave a few extra inches at the bottom to create the base.
- Cut the paper straight to make folding easier.
Step 2: Fold the Paper Into a Tube
Place the wrapping paper on a flat surface with the decorated side facing down. Fold one side toward the center, then bring the other side over it so the edges overlap slightly.
- Keep the overlapping edges straight.
- Secure the seam with tape or glue.
- Let the glue dry before continuing, if you use it.
You should now have a tube with an open top and bottom.
Step 3: Fold and Secure the Bottom
Choose one end of the tube to become the bottom of your bag. Fold the bottom edge upward to create a horizontal crease. The size of this fold will determine the depth of the bag's base.
Follow these steps:
- Fold the bottom edge upward by a few inches.
- Press the fold firmly to create a clear crease.
- Open the folded section and separate the layers of paper.
- Flatten the section into a diamond shape, with two small triangles at the sides.
Step 4: Create a Flat Base
With the bottom section flattened into a diamond, fold the top flap downward toward the center. Then fold the bottom flap upward so it overlaps the first flap.
- Make sure the two flaps overlap in the middle.
- Secure the flaps with tape or glue.
- Add a piece of thin cardboard inside the bottom for extra support, if needed.
- Open the bag carefully and press the bottom into shape.
The base should now be flat enough to hold lightweight gifts.
Step 5: Fold the Top Edge
Turn your attention to the open top of the bag. Fold the upper edge inward by about an inch and press it firmly to create a neat finish. This extra layer also helps reduce the chance of the paper tearing.
- Fold the top edge evenly around the entire opening.
- Press along the crease to keep the fold in place.
- Use tape or glue if the folded edge does not stay secure.
Step 6: Add Handles (Optional)
You can leave the bag without handles or add ribbon or string to make it easier to carry.
If you want to add handles, follow these guidelines:
- Use a hole punch to make two holes near the top on each side of the bag.
- Keep the holes far enough from the top edge to prevent tearing.
- Thread ribbon or string through the holes.
- Tie the ends securely inside the bag.
- Add tape around the holes for extra strength.
Make sure both handles are the same length so the bag hangs evenly.
Step 7: Shape the Bag
Open the bag and gently push out its sides. Adjust the bottom corners so the base sits flat, then straighten the top edge.
Before using the bag, make sure the side seam is secure, and the bottom flaps are firmly taped down. Check that the base opens fully and sits flat. If you added handles, ensure they are secure and that the bag has enough space for your gift.
If the paper feels weak, reinforce the bottom before placing anything inside.
Tips for Making a Stronger Wrapping Paper Bag
Wrapping paper can tear more easily than regular gift bags, so a few small adjustments can make your bag more durable.
- Choose thicker paper: Heavy wrapping paper is usually easier to fold and less likely to tear.
- Secure the bottom well: Use enough tape or glue to keep the base flaps in place.
- Add cardboard support: Place a piece of thin cardboard inside the bottom to help the bag hold its shape.
- Reinforce the handles: Add extra tape around the holes before threading the ribbon or string.
- Avoid heavy items: Use homemade paper bags for lightweight gifts rather than books, glass items, or other heavy objects.
How to Decorate Your Homemade Wrapping Paper Bag
You can decorate your bag to match the occasion or the gift inside. Here are a few simple ideas:
- Add a ribbon or bow: Tie a ribbon around the top or attach a small bow to the front.
- Use gift tags: Write the recipient's name on a tag and attach it to one of the handles.
- Add stickers: Use stickers to decorate plain areas of the paper.
- Include tissue paper: Place colorful tissue paper inside the bag so it peeks out from the top.
- Personalize the design: Add small drawings, stamps, or paper cutouts to create a unique look.
Keep the decorations lightweight so they do not damage the paper or make the bag harder to carry.
What Can You Use a Wrapping Paper Bag For?
A homemade wrapping paper bag works well for several occasions. You can use it for:
- Small birthday presents
- Holiday and Christmas gifts
- Party favors
- Handmade crafts
- Lightweight accessories
- Small treats or souvenirs
You can also choose wrapping paper with colors or patterns that match a birthday party, wedding, or other special event. Just make sure the bag is large and strong enough for the item you plan to put inside.
Final Words
Making a bag out of wrapping paper is a simple craft that requires only a few supplies. By folding the paper into a tube, creating a flat base, and adding handles if needed, you can make a useful bag for lightweight gifts. You can also decorate it to match different occasions. Try this method with leftover wrapping paper and adjust the size to fit your next gift.
Related guide: Do You Bring a Gift to a Gender Reveal Party?
People Also Ask
Can you make a gift bag out of any type of wrapping paper?
Yes, you can use most types of wrapping paper to make a gift bag. Thicker paper is usually easier to handle and holds its shape better than very thin paper.
How do you make a wrapping paper bag without glue?
You can use clear tape to secure the side seam and bottom folds instead of glue. Make sure the tape holds the paper firmly in place before adding a gift.
How can you make a wrapping paper bag stronger?
Add a piece of thin cardboard to the bottom and reinforce the seams with tape. Using thicker wrapping paper can also help the bag hold its shape.
Can you make a wrapping paper bag with handles?
Yes, you can add ribbon or string handles by punching holes near the top and tying the ends securely inside. Reinforce the holes with tape to reduce the risk of tearing.
What size wrapping paper do you need to make a gift bag?
The size depends on the gift and how wide and tall you want the bag to be. Measure the gift first and leave extra paper for the overlapping seam, bottom folds, and top edge.